I was thinking about doing a Reverse Engineering challenge for a while, but I was having trouble finding the right time for it. Well, this moment has finally come and I found this website called Crackme where there are a bunch of these challenges along with their solution. So, I thought of giving them a try.
In this article, I document the process I followed to solve this challenge. This challenge helped me understand more Windows APIs and improve my general RE skills. The goal of this post is not to teach you how to solve this challenge, nor any special RE trick. Instead, it is a way for me to recap the process I followed from the start till the end.
Okay, ready?
About The Challenge
You can download the challenge at this link. This challenge is designed for Windows systems. The goal is to find out which of the 84 buttons is the one that triggers the serial checking routine, and then write a valid key.
I mainly used IDA 8.2 disassembler.
First analysis
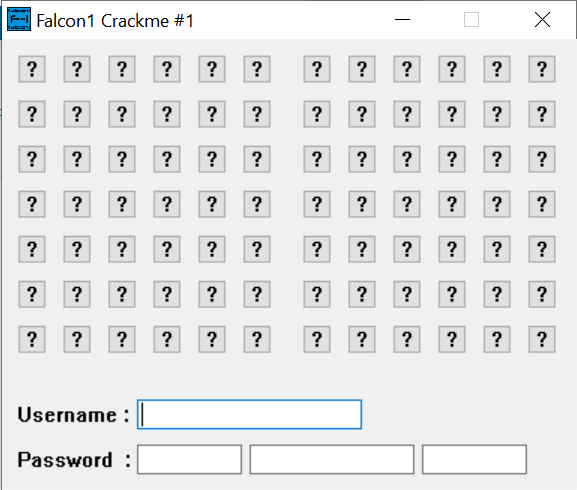
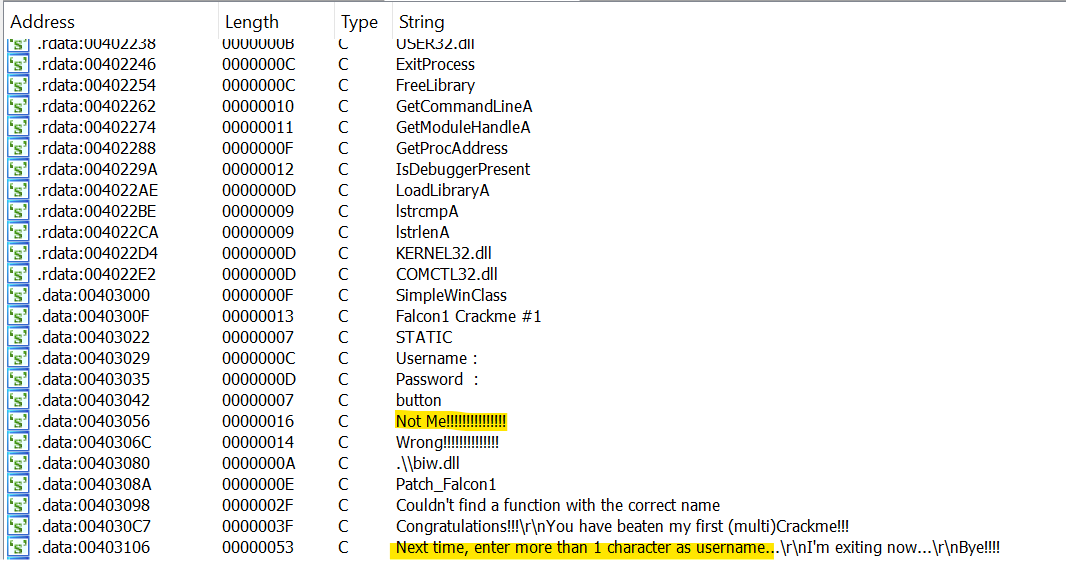
First, I tried clicking a few buttons. Each time I click the wrong button, the program shows a message box with an error message and the program exits. I looked at the strings view, and I tracked the location of the two strings used in the error message box. I also noticed another string, but its role was not very clear at the beginning so I wanted to investigate more.
The first goal is to find the button-checking routine. At this point, I started researching about how a button click can be handled in a Windows application. I found this page where I learned a lot. I was looking for a WNDPROC callback function. A WNDPROC callback processes messages sent to a window depending on the message code specified. Specifically, a button click sends a message with code WM_COMMAND, as documented here.
Since the function table contains a few entries, it was easy to find it. I renamed the function as WndProcHandler and this was the result:
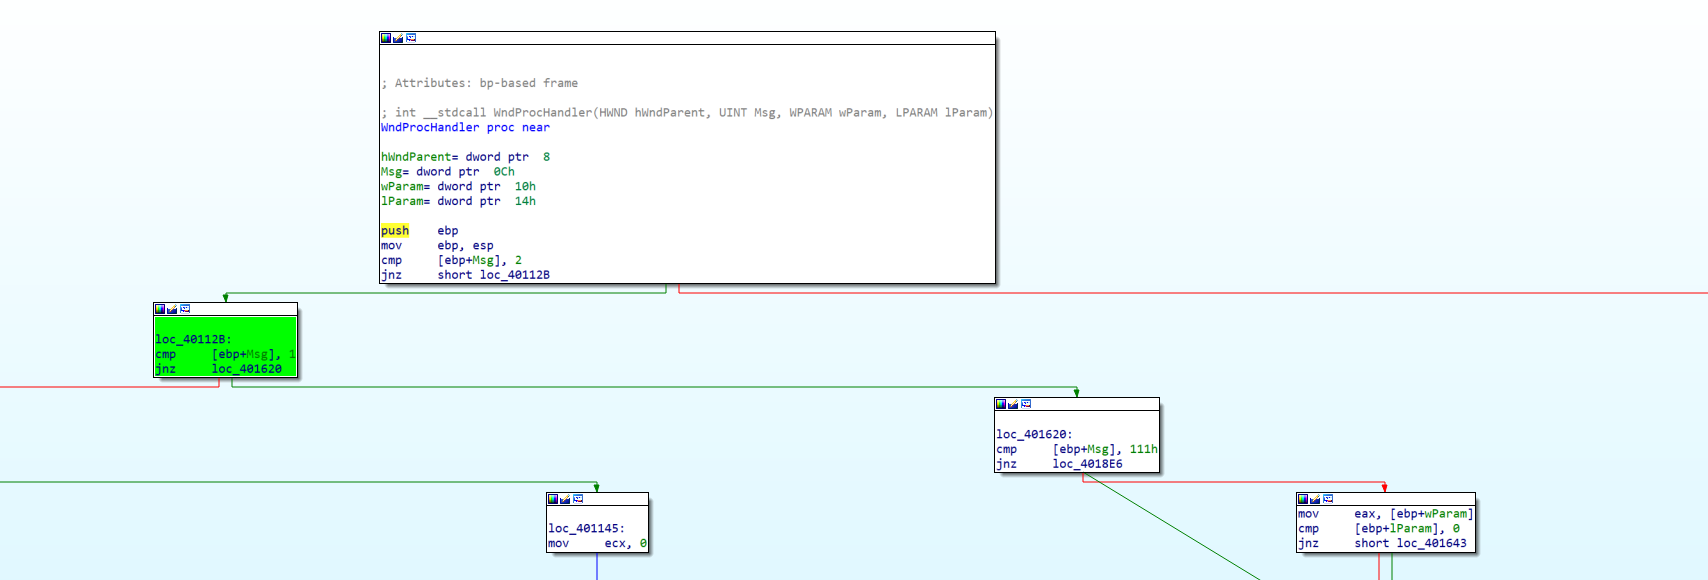
Okay, now I analyzed the disassembled code a bit. A WM_COMMAND message is identified by the code 0111 in hexadecimal, so I followed the switch-case style blocks above until I reached this:
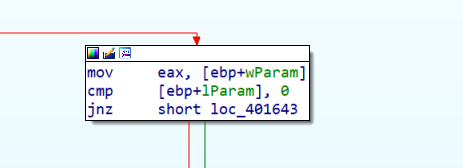
Now, at first I didn’t understand the reason of those params. After a while, I found this example in the Windows documentation at this link:
BOOL AboutDlg (
    HWND hDlg,
    UINT message,
    WPARAM wParam,
    LPARAM lParam)
{
    BOOL bRet = FALSE;
    switch (message)
    {
        case WM_INITDIALOG:
            bRet = TRUE;
            break;

        case WM_COMMAND: //here the switch-case statement I am looking for
            if (wParam == IDOK ||
                wParam == IDCANCEL)
            {
                EndDialog(hDlg, TRUE);
                bRet = TRUE;
            }
            break;
    }
    return bRet;
}
I noticed that the wParam specifies additional information about the event, so perhaps this might be the button number. I tried running it with the debugger, and the next code block is:
loc_401643:
cmp     ax, 0Dh
jnz     loc_4018B6
Which indeed compares a byte taken from EAX with 0D, the hexadecimal for 13. The 13th button triggers the key validation procedure.
Cool.
Key validation
At this point, I need to find a valid username/password to win the challenge. I started doing some dynamic analysis of the software to understand it better.
I started with the “Congratulation…” message. My idea was to follow the code in the opposite direction to track the exact location of the key validation section.
First, I got into this block:
push    dword_403258
push    offset aD       ; "%d"
push    offset byte_4032C4 ; LPSTR
call    wsprintfA
add     esp, 0Ch
push    dword_40325C
push    offset aD       ; "%d"
push    offset byte_403328 ; LPSTR
call    wsprintfA
add     esp, 0Ch
push    5Ah ; 'Z'       ; nMaxCount
push    offset String2  ; lpString
push    dword_403168    ; hWnd
call    GetWindowTextA
push    5Ah ; 'Z'       ; nMaxCount
push    offset byte_4033F0 ; lpString
push    dword_40316C    ; hWnd
call    GetWindowTextA
push    5Ah ; 'Z'       ; nMaxCount
push    offset byte_403454 ; lpString
push    dword_403170    ; hWnd
call    GetWindowTextA
push    offset String2  ; lpString2
push    offset lengthString ; lpString1
call    lstrcmpA
or      eax, eax
jz      short loc_40186D
From the three GetWindowTextA, I realized that this part extracted the password from the text boxes. Nice, but first I need some info about the username.
A few blocks above in the code graph I found what I was looking for:
getUsernameFromBox:     ; nMaxCount
push    5Ah ; 'Z'
push    offset usernameString ; lpString
push    hWnd            ; hWnd
call    GetWindowTextA
cmp     eax, 2
jnb     short loc_40175A
The code above contains a few names I put myself, like getUsernameFromBox as the name of the procedure and usernameString. Anyway, the call to GetWindowTextA confirms that this part was responsible for getting the username from the textbox.
At this point, I started debugging with IDA to follow the steps and operations put in place to get the username and password. The goal was to catch, eventually, some insights about the credentials evaluation procedure.
The validation algorithm
By following the execution step by step with IDA I was able to reproduce the validation algorithm.
You can put whatever username you like (string length greater than one). Depending on the username you put, a password is generated in this way:
- The first part of the password is the number of chars in the username
- The second part is obtained by multiplying each digit of the username (converted to ASCII code) by a constant factor and adding it all together
- The third part is obtained by summing each digit of the username (converted to ASCII code)
While following the execution I wrote on paper the operations I was doing, but in the end I wrote a Python script that serves as key generator:
USERNAME = "123"
MUL_CONST = 1337 #539h
pwd_1 = str(len(USERNAME))
pwd_2 = 0
pwd_3 = 0

for i in USERNAME:
  bt = ord(str(i)) * MUL_CONST
  pwd_2 += bt

  bt = ord(str(i))
  pwd_3 += bt

print("{} {} {}".format(pwd_1, pwd_2, pwd_3))
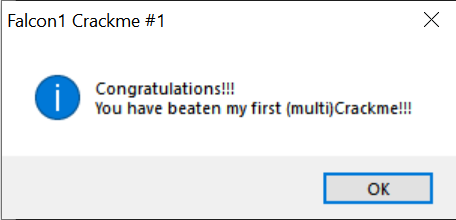
And, after using this script to generate the credentials, we are done!
I hope you enjoyed this post and please write to me if you have some tips about RE or some feedback on this article.
